
Some of the links below may be affiliate links, view our disclosure policy.
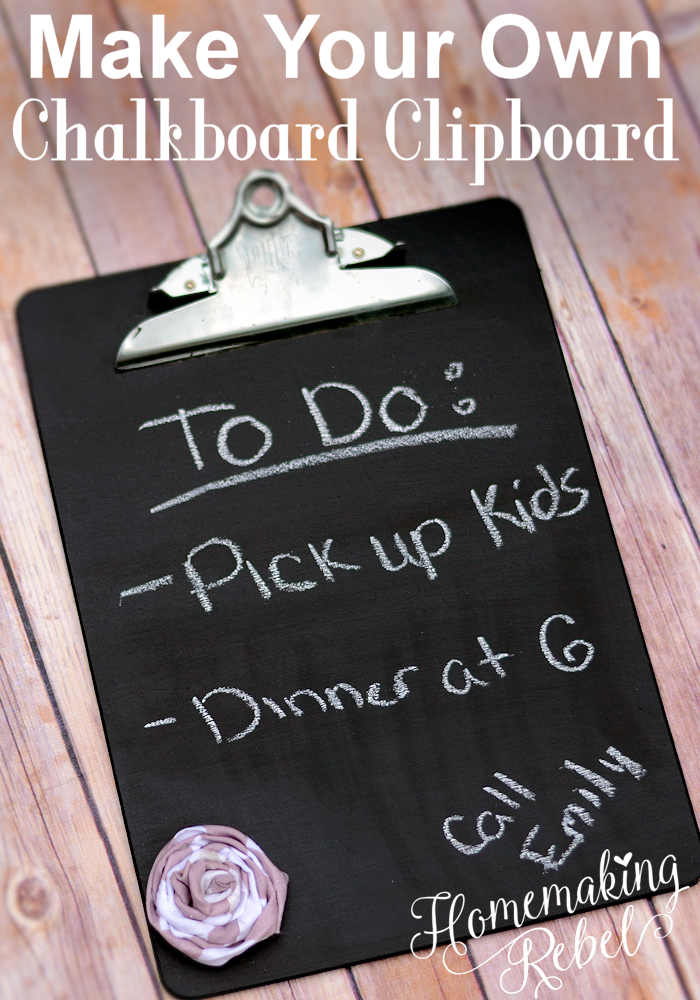
As I may have mentioned i’m currently re-doing my office and all the decor is going to be ‘do it yourself’ style which I love, you get exactly what you want and the satisfaction of doing it yourself! Along with my fabric cork board I decided to add a chalkboard clipboard to the get up for quick notes, to-do lists and more. It was super easy to make! You can even use these for car rides for the kids, bring the clipboard and some chalk along and they can draw and erase for hours on end!
Easy Chalkboard Clipboard Idea
What you’ll need:
1. Clipboard (I bought a set of 4 here for just $8 for future projects)
2. Chalkboard paint (you can find some here) $8-$9
3. Paintbrush or sponge brush
4. Embellishments (optional)
Step 1 – Paint your clipboard:
First things first, get to painting! Add a few coats of the chalkboard paint onto your clipboard, it took roughly 4 good coats on mine (I also love painting so I may have gone overboard) but I prefer my coats a bit thick so the coverage is solid. You will want to wait 30min to an hour between coats to make sure it dries.
(tip: make sure the clip part of the clipboard is held open when painting underneath it, otherwise the paint will make it stick to the board and leave a very rough line when you have to pull it apart)
Step 2 – Add embellishments:
This is the fun part, add whatever embellishments you like to the newly painted chalkboard clipboard! Since mine is going in my office I decided to use a fabric flower I created (tutorial here) that matched the decor in my office. You can also use ribbons, buttons, flowers, etc. or let the kids decide how to decorate it if it’s going to be for them!